This article is valid for Smart ID 21.04 and later.
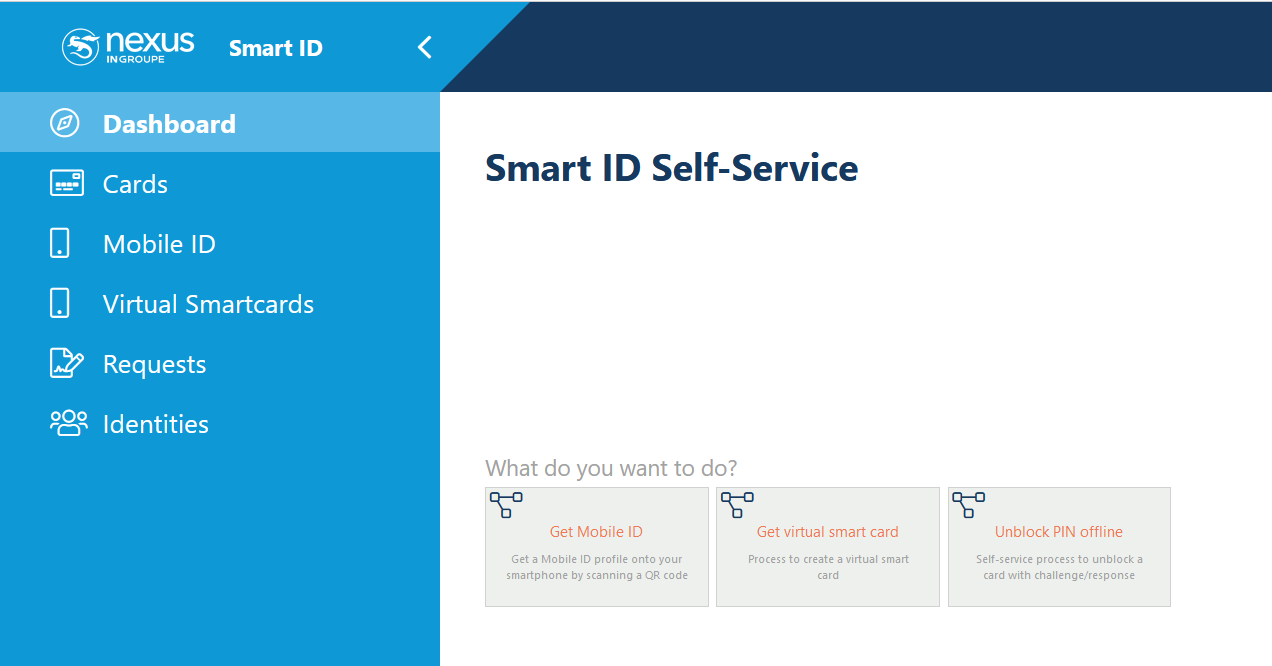
This article describes how to configure the menu items that shall be shown in Smart ID Self-Service.
<SMARTIDHOME>
In this article, <SMARTIDHOME> refers to /home/nexus, but this can be different depending on the setup.
Add menu items
Which menu items to show in Smart ID Self-Service, and what they shall contain, can be customized. A menu item will only be shown if it contains any sub-items.
You do the customization in Smart ID Identity Manager Admin.
-
In Identity Manager Admin, go to Home > Search Configurations.
-
Either create or edit an existing search configuration.
-
Go to the Purpose tab. Select where the search shall be used. In this example, the search shall be used in Smart ID Self-Service. Mark Self-Service Search and select an appropriate name in the drop down list. This will be the menu item name in Smart ID Self-Service. In this example, where we selected a certificate core temple as reference, select Certificates.
-
Go to the Permissions tab. Add permissions for different users, that is, who shall be able to see this menu item? Select the roles, for example, Administrator, BaseRoleSelfServiceUser and BaseRoleRegistrationOfficer.
-
Click Save.
-
To see the newly created menu item in Smart ID Self-Service, clear the cash in Smart ID Identity Manager Operator and reload Smart ID Self-Service.
Translate menu items
The translations are not set in Smart ID Self-Service, but in the Smart ID Identity Manager translation files
-
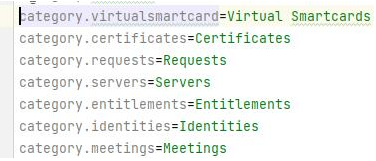
Go to <SMARTIDHOME>/docker/compose/identitymanager/config/translations.
-
Open general.properties (or the any general_X.properties files matching the locale you want to change the translations for).
-
Change the values: