This article contains a detailed overview of the CM Web UI and the different views within the user interface. Learn how to get started with CM Web UI and access more information on the different views in the web-based application.
This PKI web application is an easy-to-use tool to interact with Smart ID Certificate Manager. It comes with unique high security features for user authentication and request signing. CM Web UI integrates with the Nexus products Hermod and Nexus Personal Desktop Client to ensure high security and usability. For more information, see Officers and roles in Certificate Manager.
Get started and sign in
-
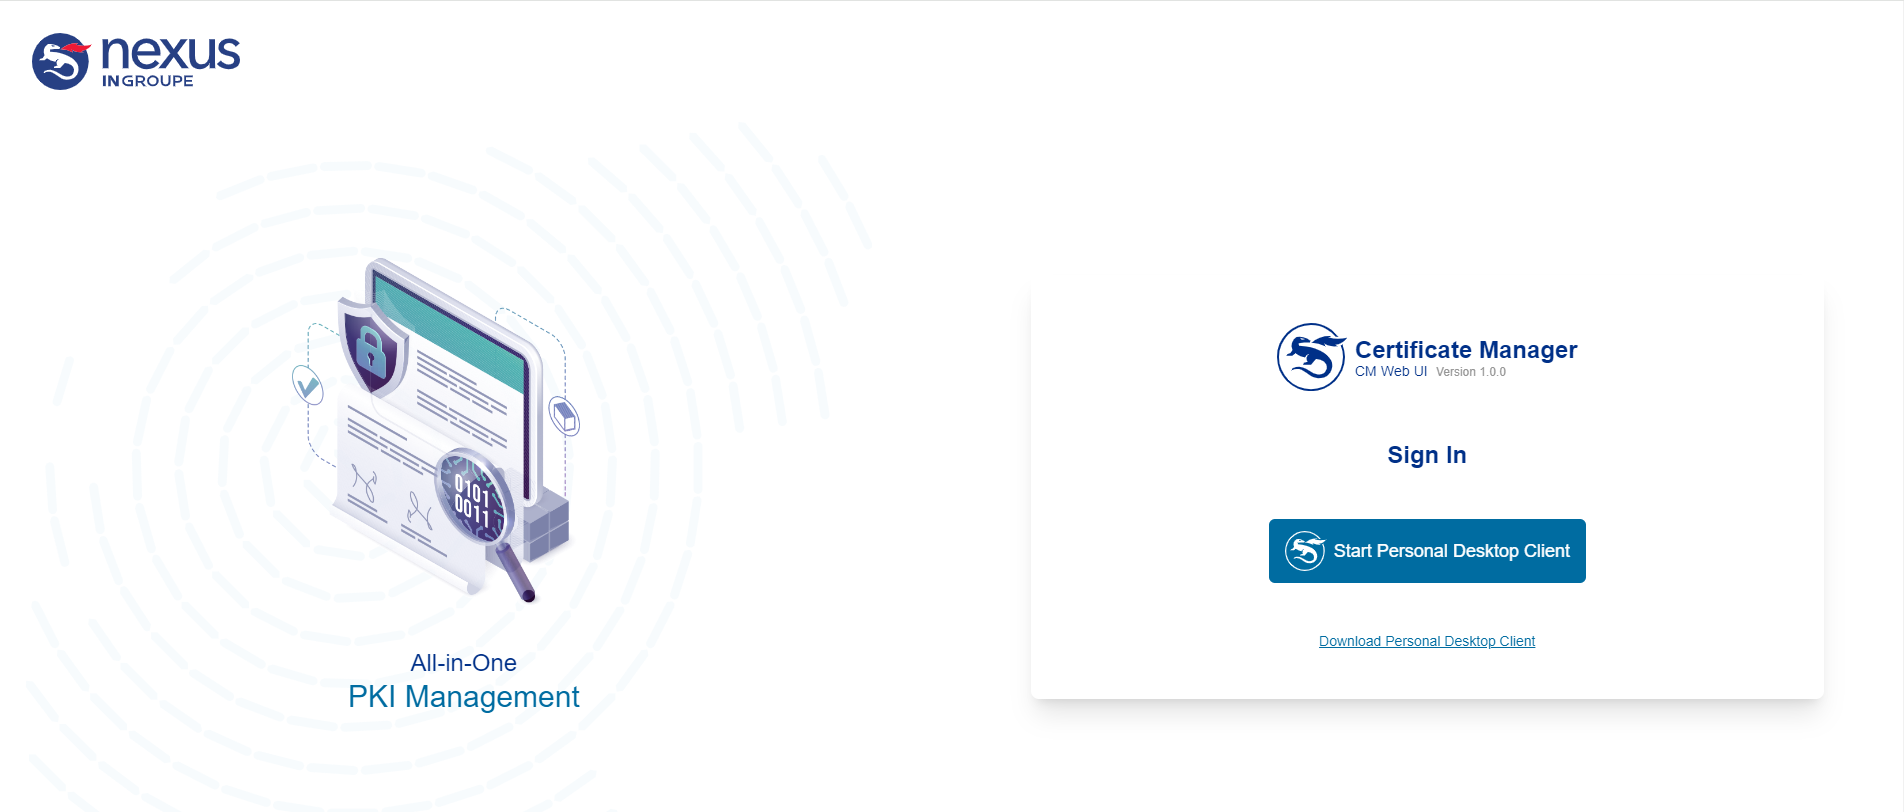
Open a web browser and enter the CM Web UI URL.
-
Open or download Nexus Personal Desktop Client.
-
Use Personal Desktop Client to authenticate and sign in. Personal Desktop Client is integrated to enable sign requests with a smart card or a soft token-based CM officer.
For more information, see Certificate Manager Web UI communication flow.
Dashboard
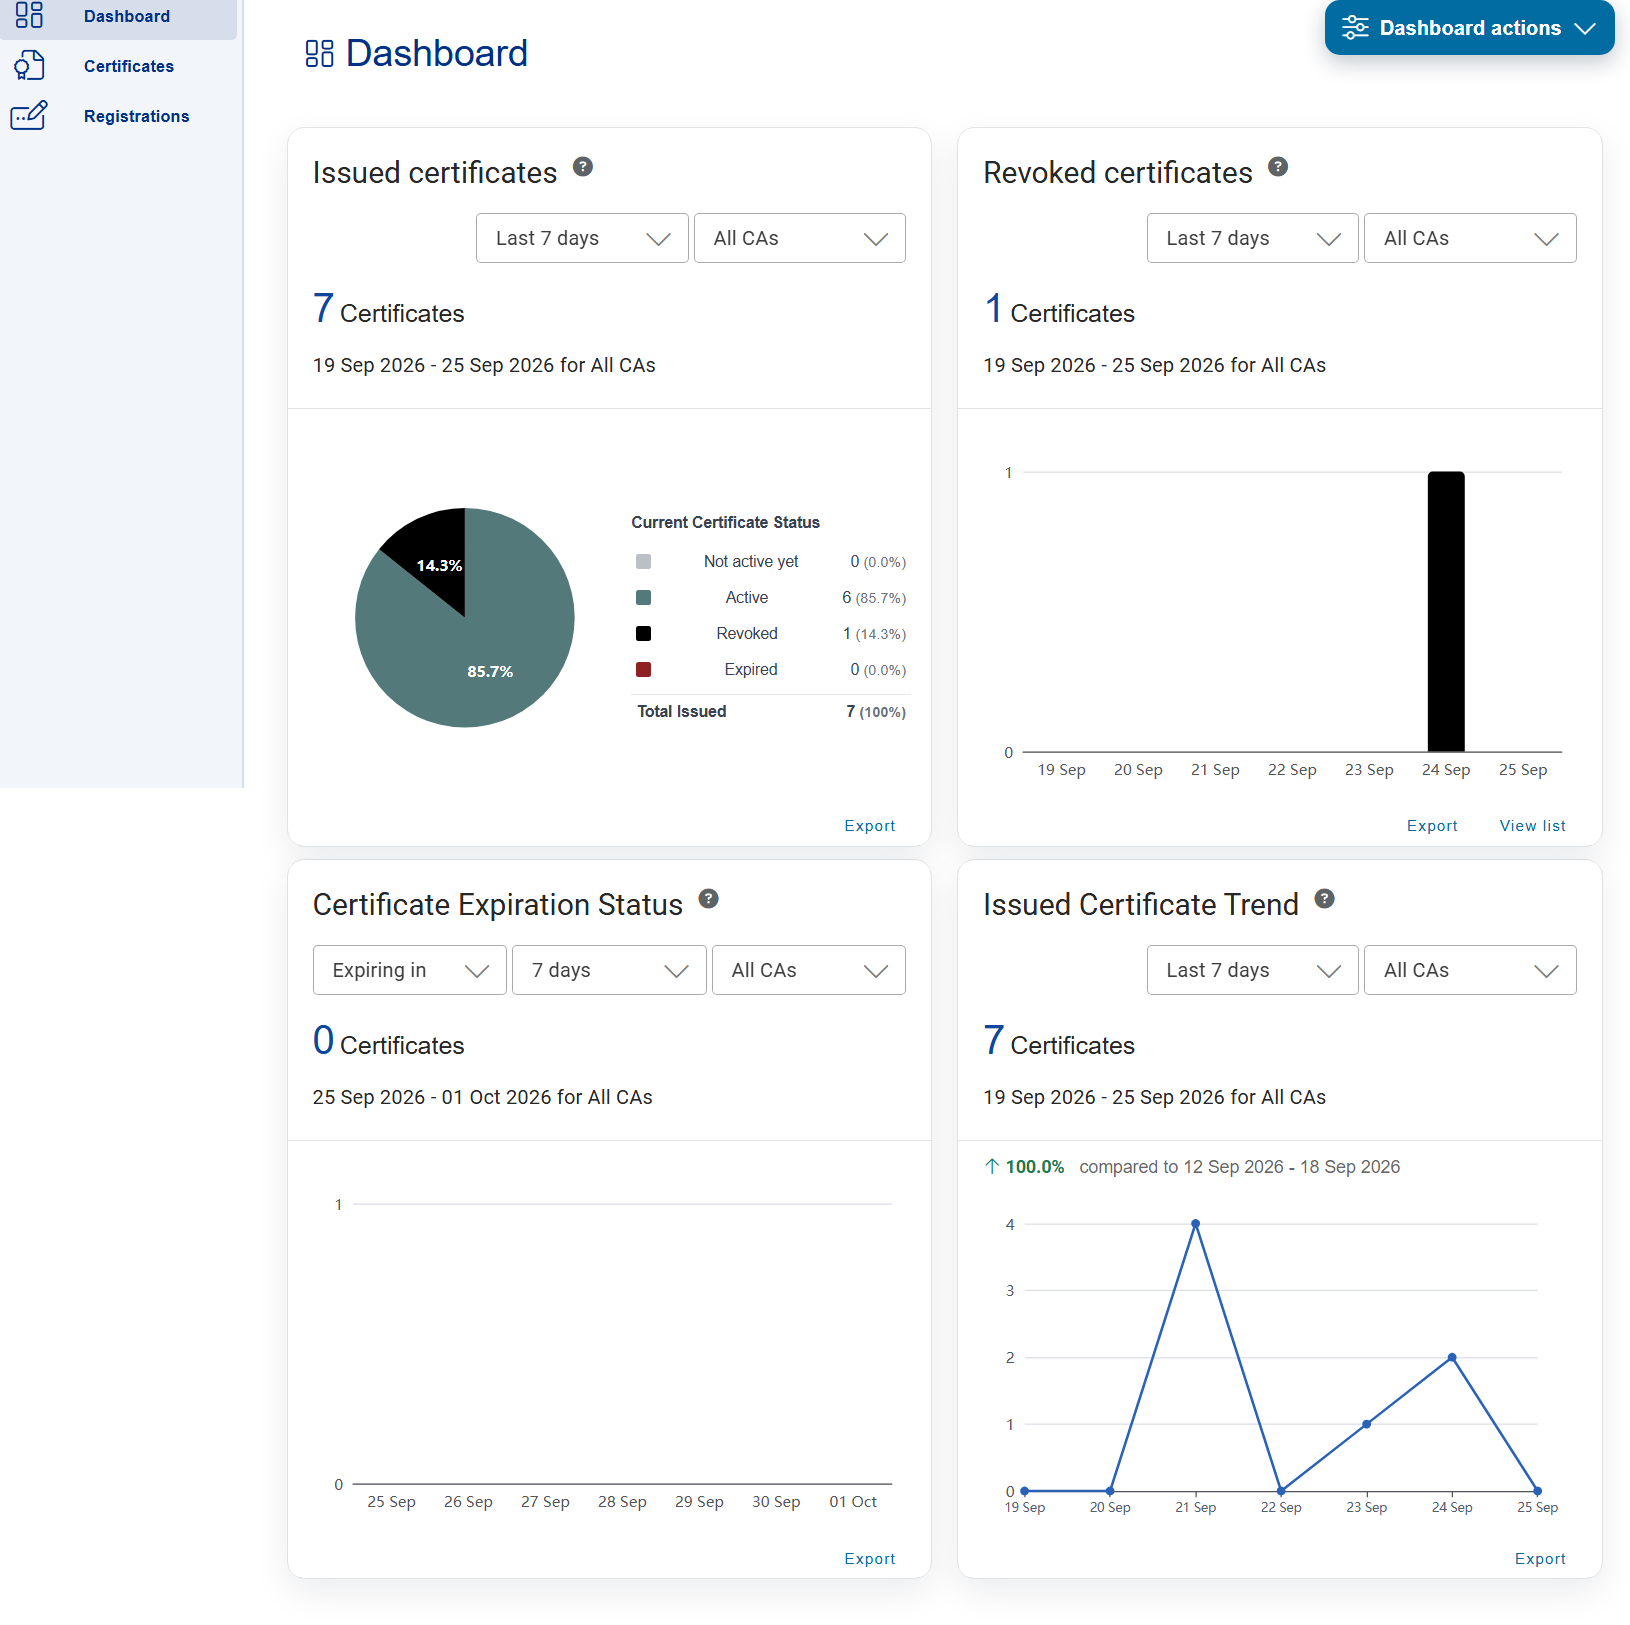
View detailed statistics for issued and revoked certificates on the Dashboard. Customize and save the view to show data from all certificate authorities or a specific one and select a time frame that fits your reporting needs.
Certificates
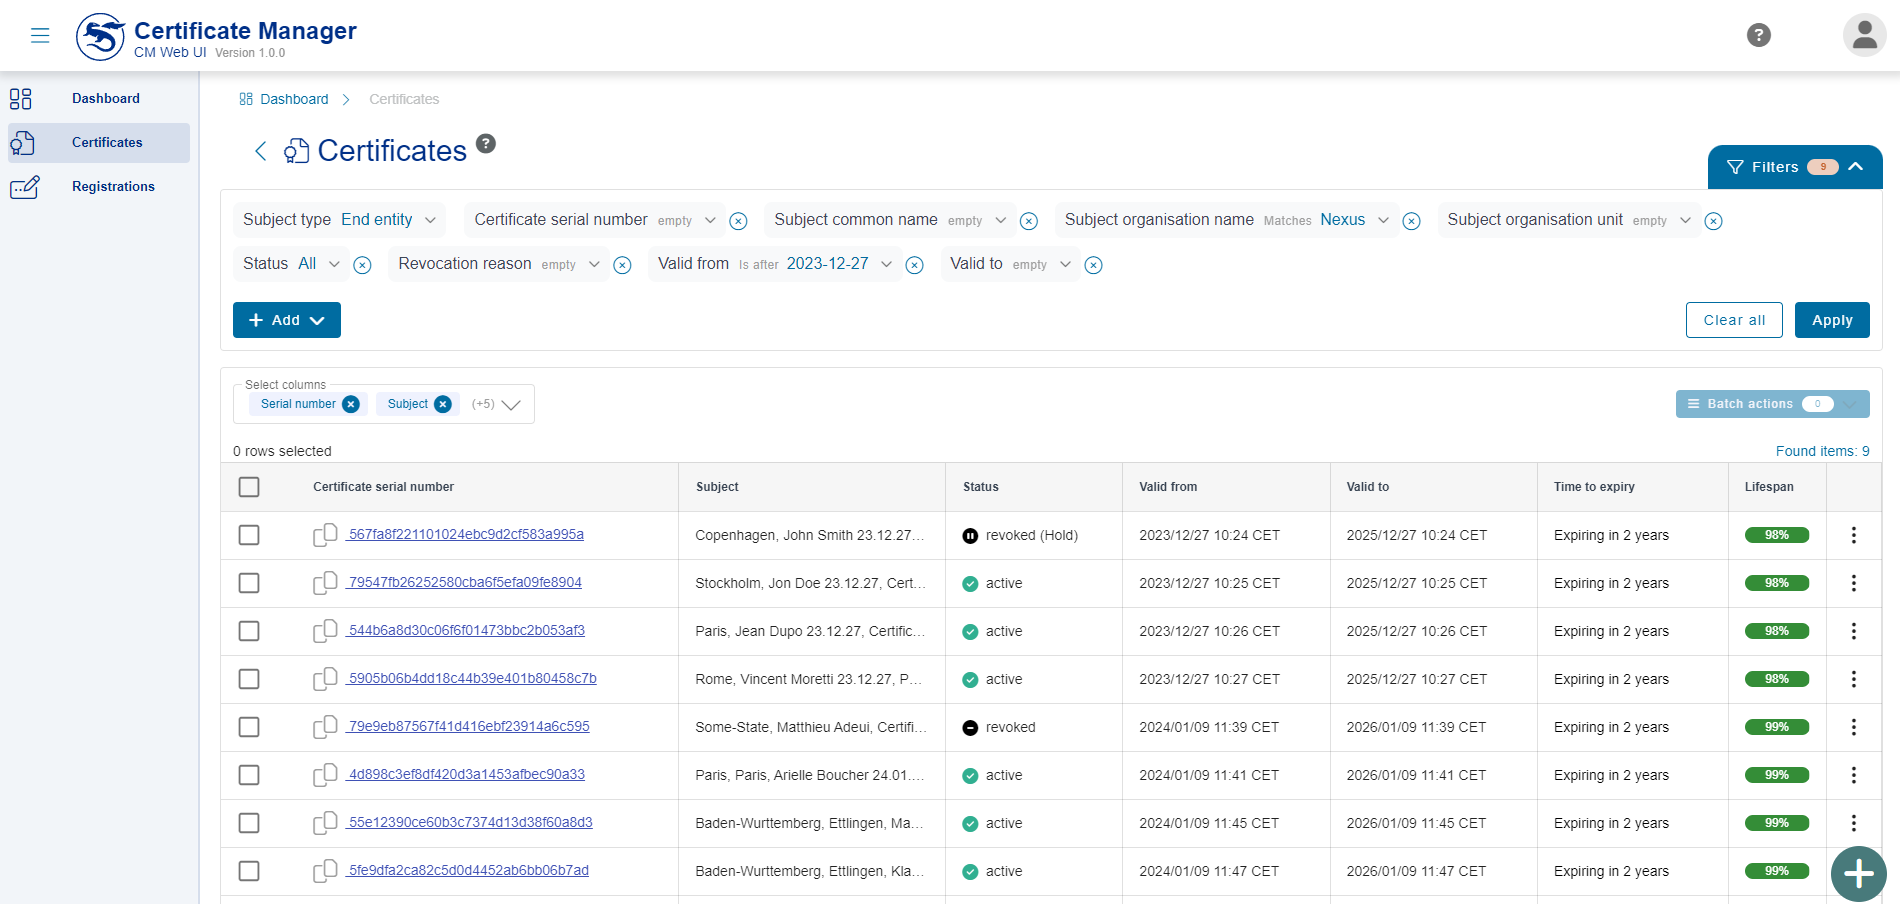
View and filter certificates on the Certificates page. Configure filters and apply them with one click. Reorder columns via drag-and-drop and remove columns to focus on specific details.
You can also submit certificate requests and issue new certificates directly from this view.
Use this view to filter, view, issue, revoke, and download certificates.
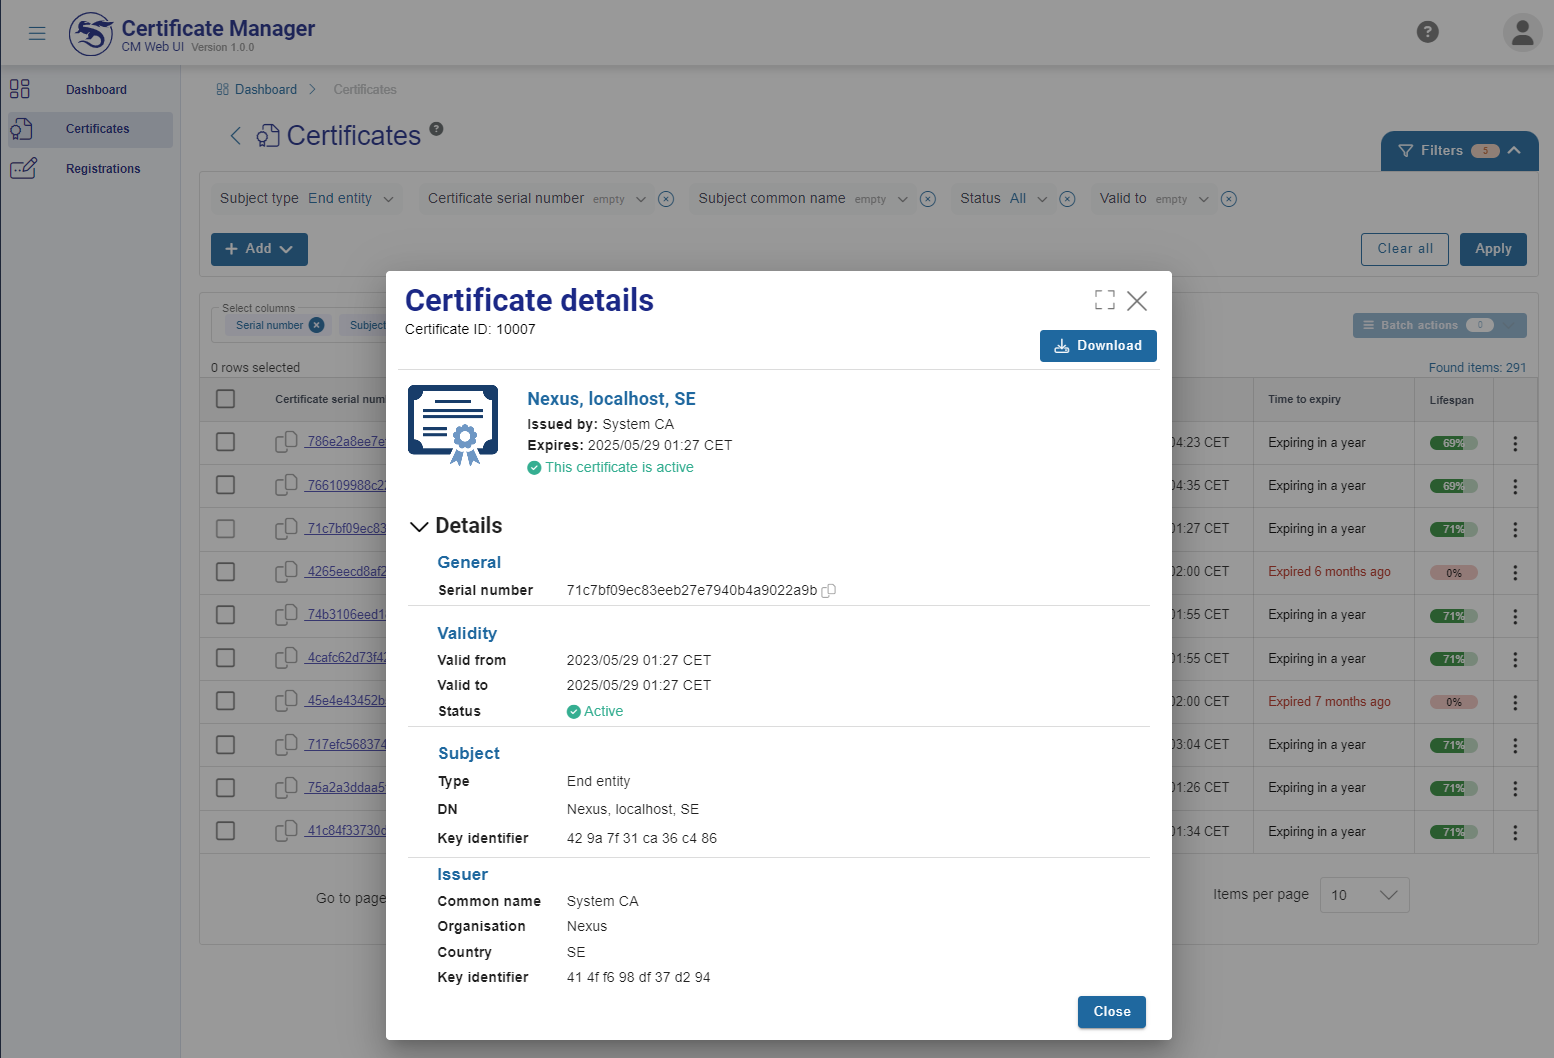
Certificate details
Double-click a certificate to view its details. From there, you can download its information, including general info, validity, subject, and issuer data.
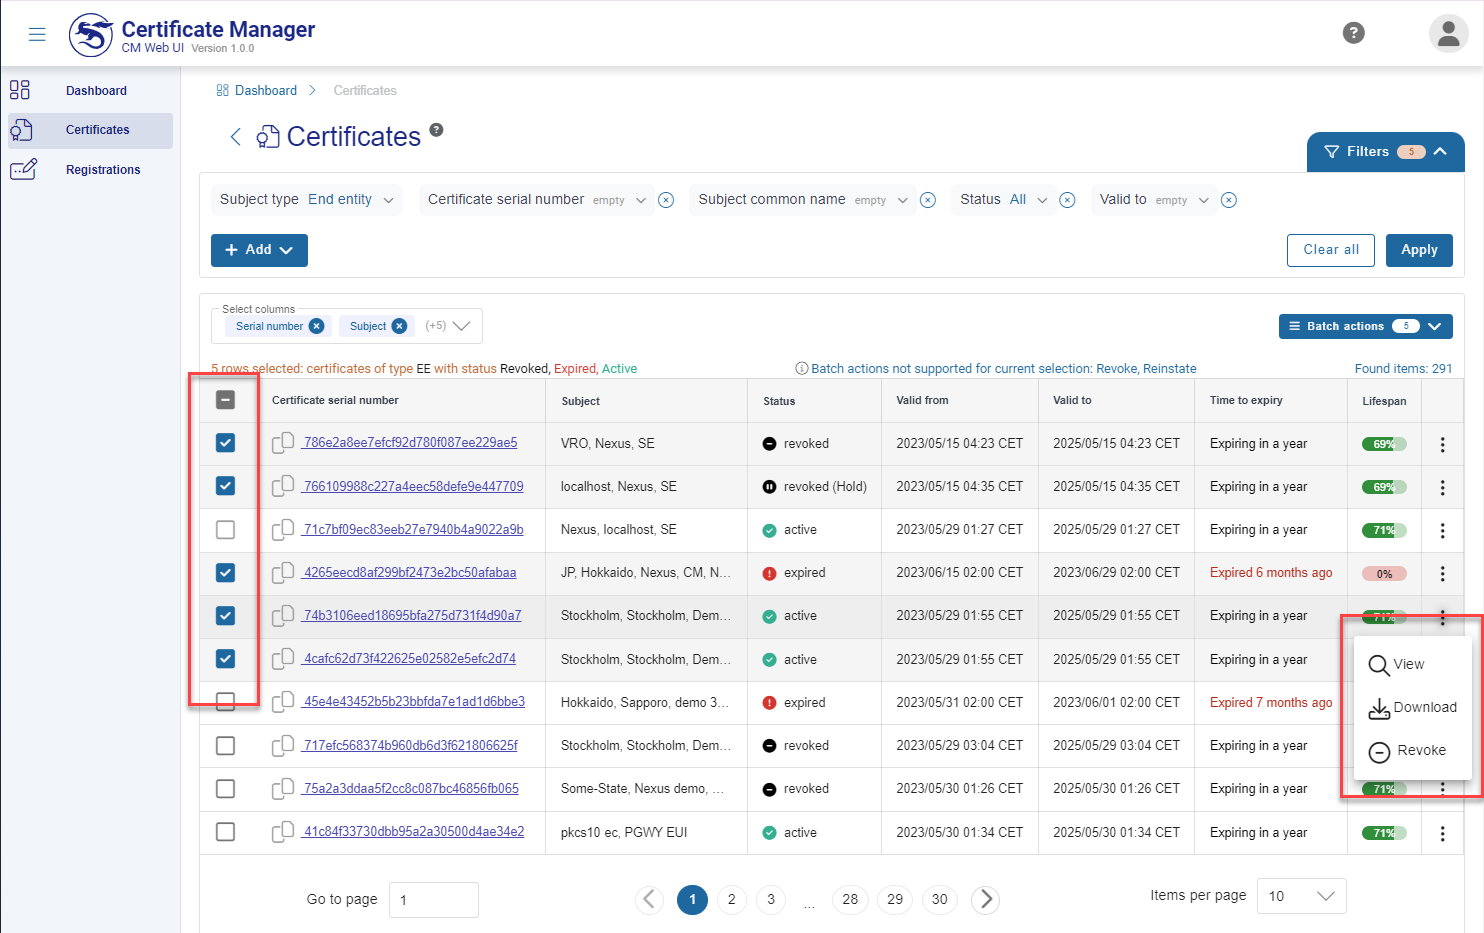
Multi-select certificates and batch actions
Efficiently manage multiple certificates by leveraging batch actions. Choose certificates and initiate batch actions through the Batch actions button. You can seamlessly view, download, or revoke the selected certificates, streamlining your certificate management process.
Submit request
Click the plus sign in the lower right corner to submit a certificate request.
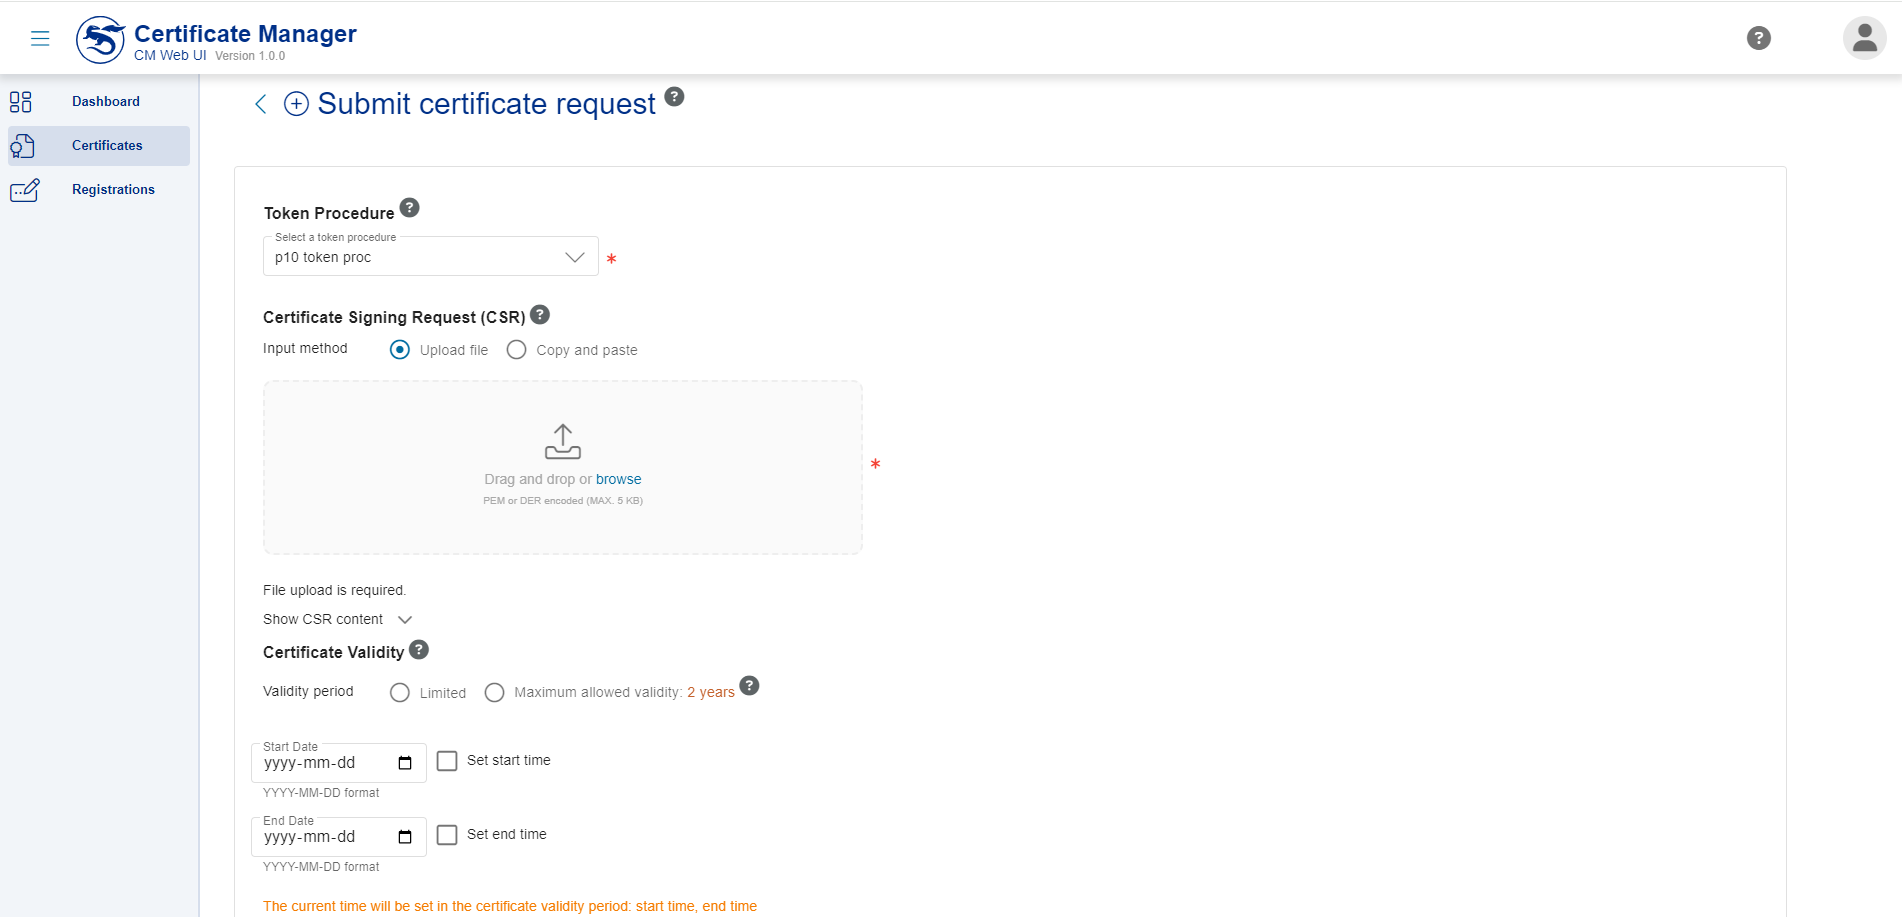
From here you can submit certification requests (PKCS#10 / PKCS#12) to issue a certificate using a selected token procedure.
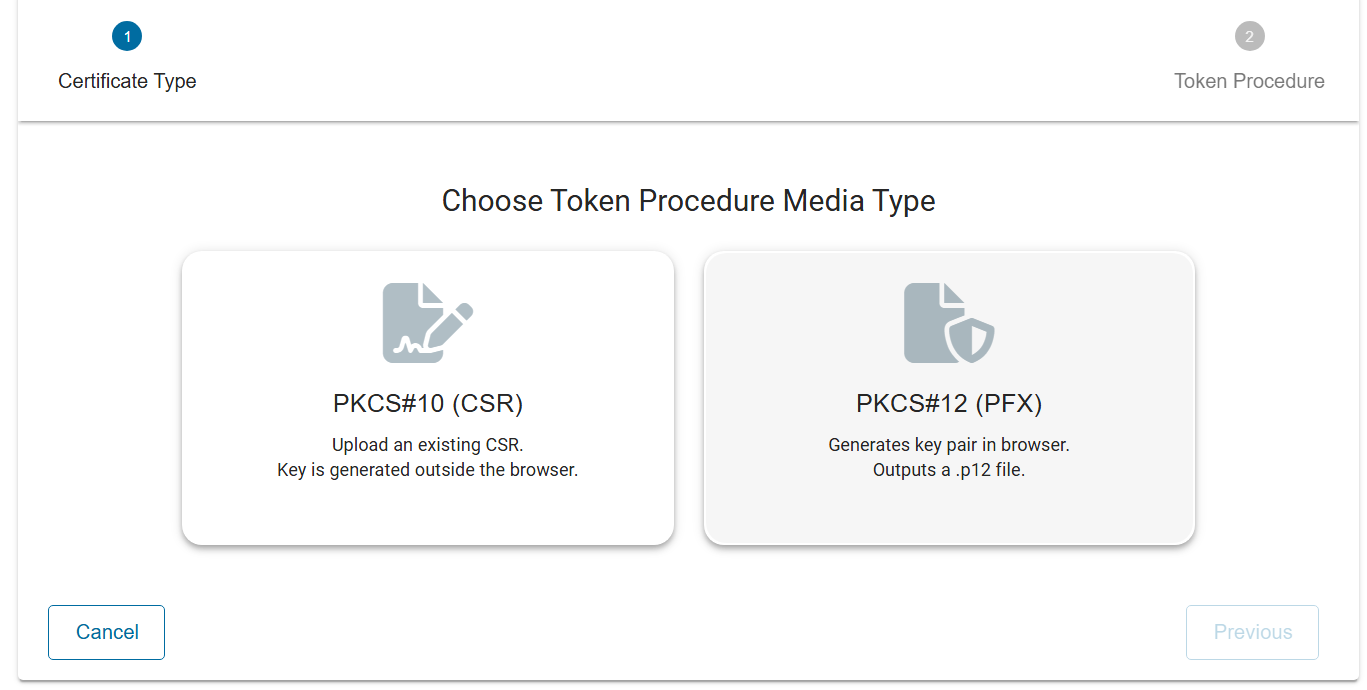
For PKCS#10, submit the request, choose a token procedure, select the CSR input method, and set the certificate validity.
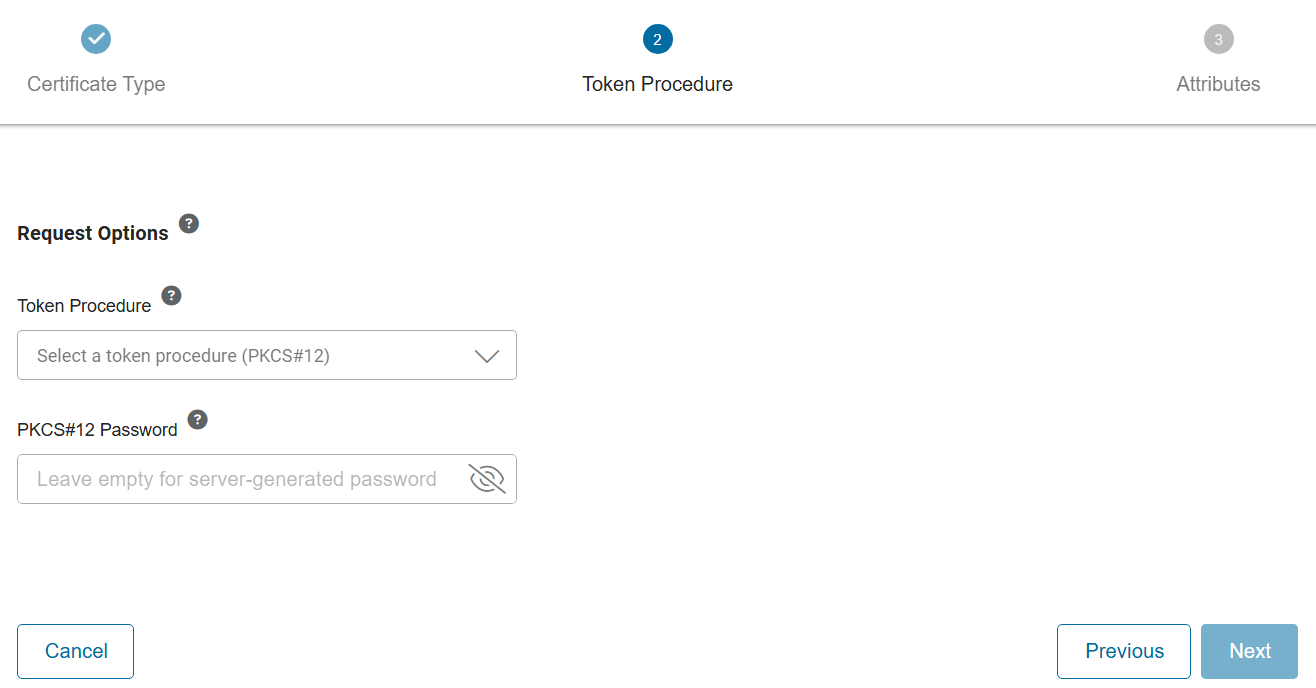
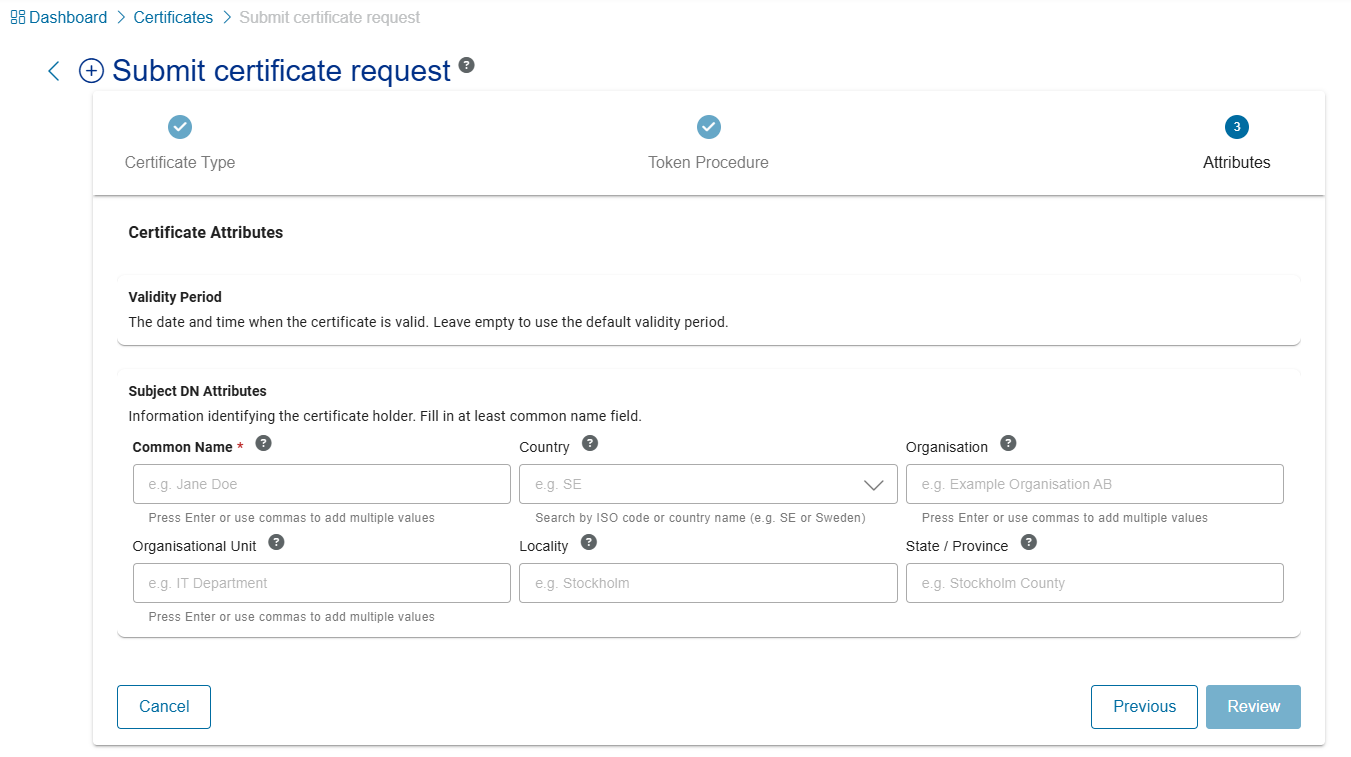
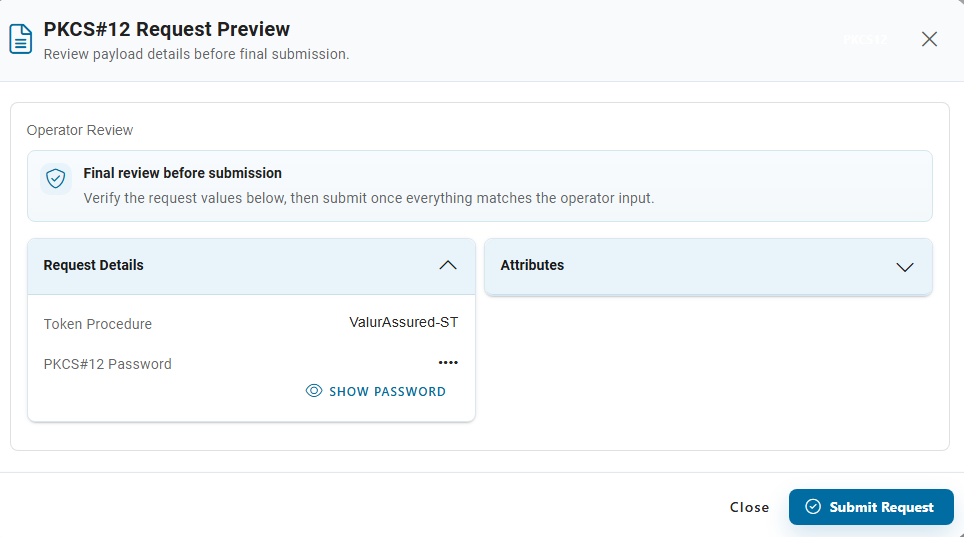
For PKCS#12 submit the request, choose a token procedure, password can be either provided by user or system generated, next add certificate attributes and then review added detail on review page then submit issue request.
Registrations
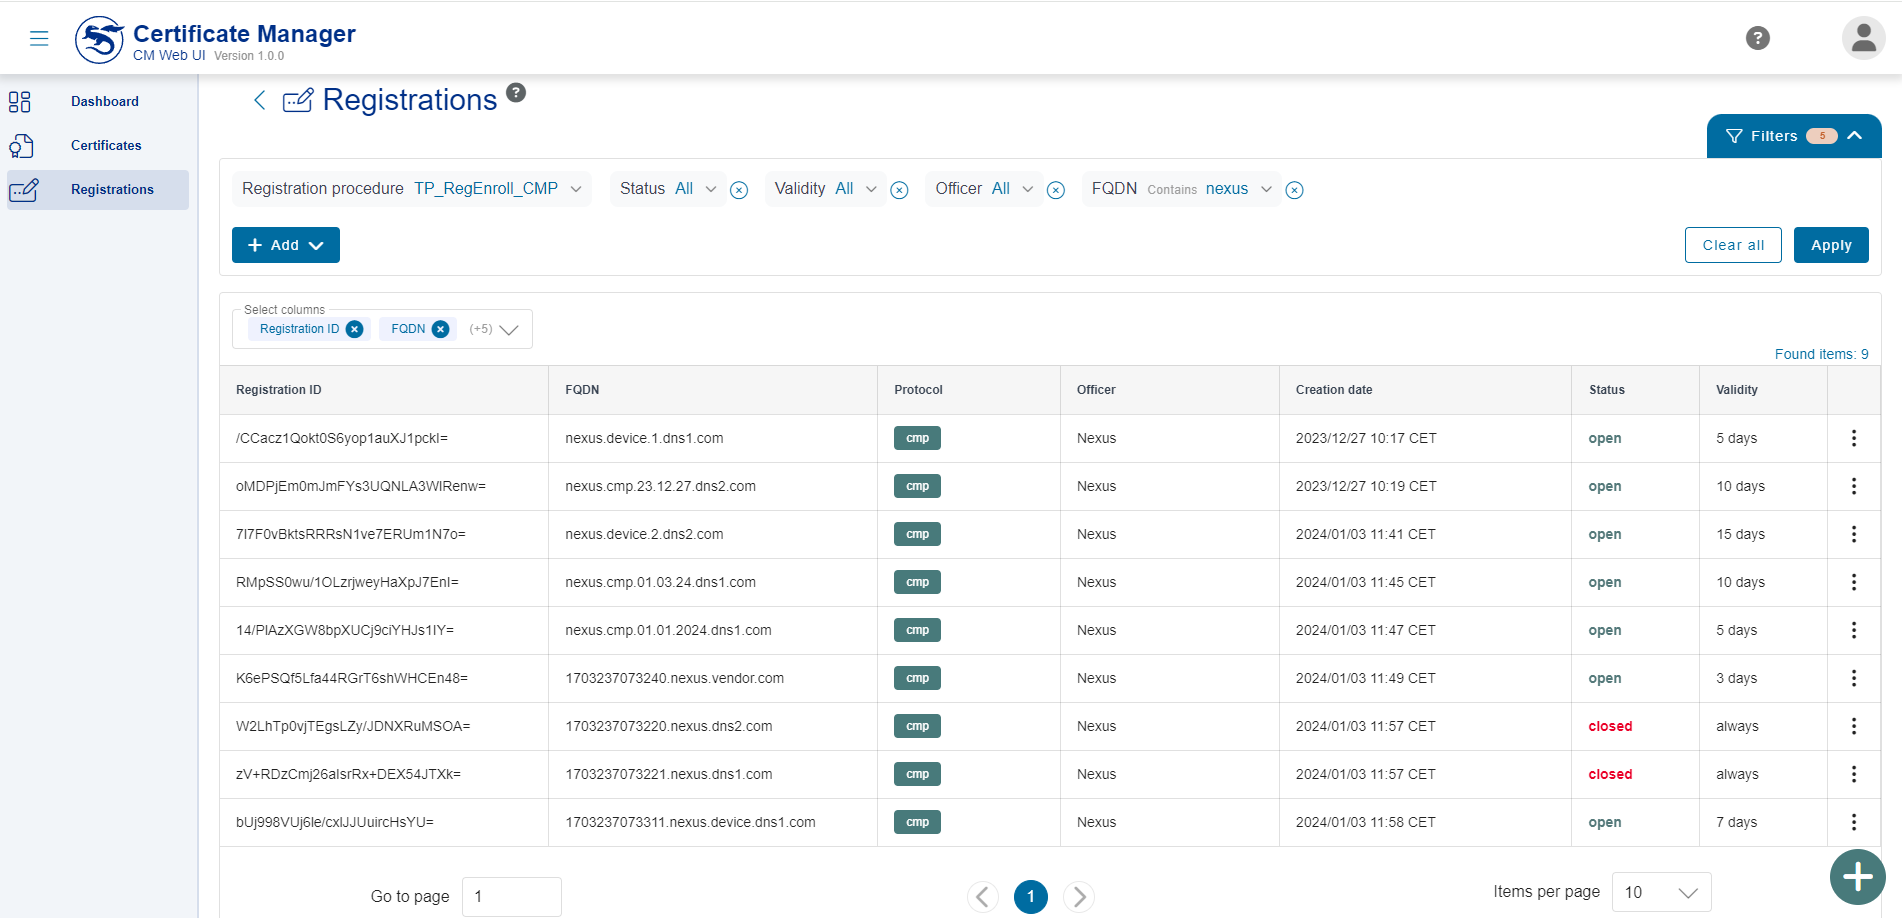
View registrations and register devices to enable certificate enrollment over protocols CMP, SCEP, EST, or ACME. This view contains information that includes properties of existing device registrations. Registrations enable devices to enroll for certificates using an API.
Get more information about the various Certificate Manager interfaces and the Certificate Manager (CM) REST API.
Registration details
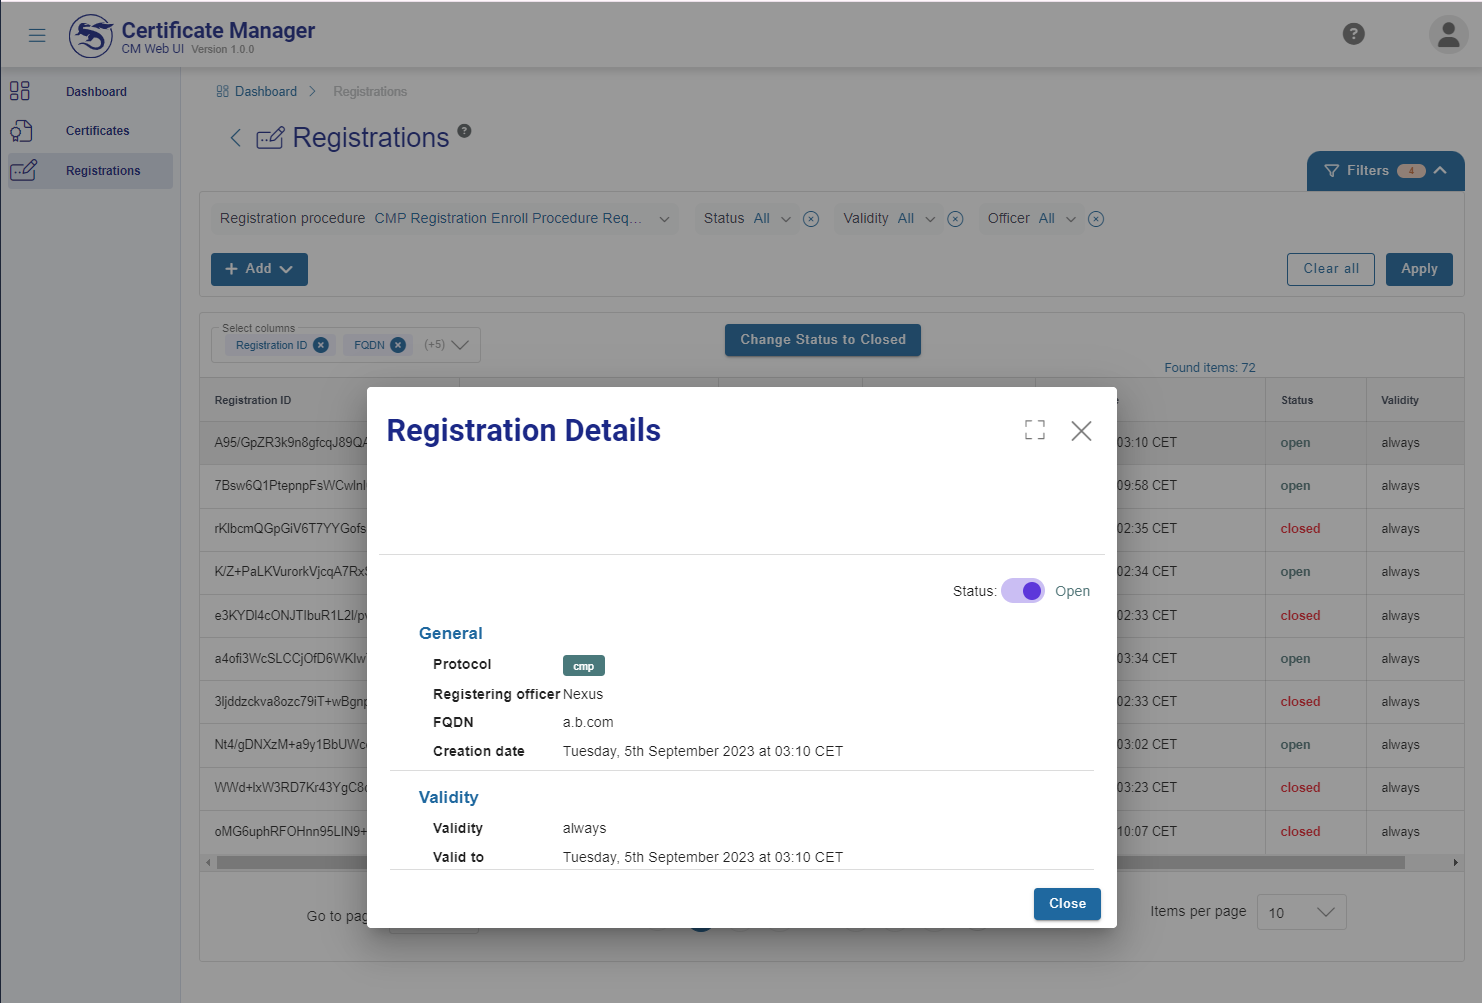
Double-click a registration to view its details. From this view, you can change the status. You can also change status from the list view by clicking the three dots or by right-clicking the row to open a context menu.
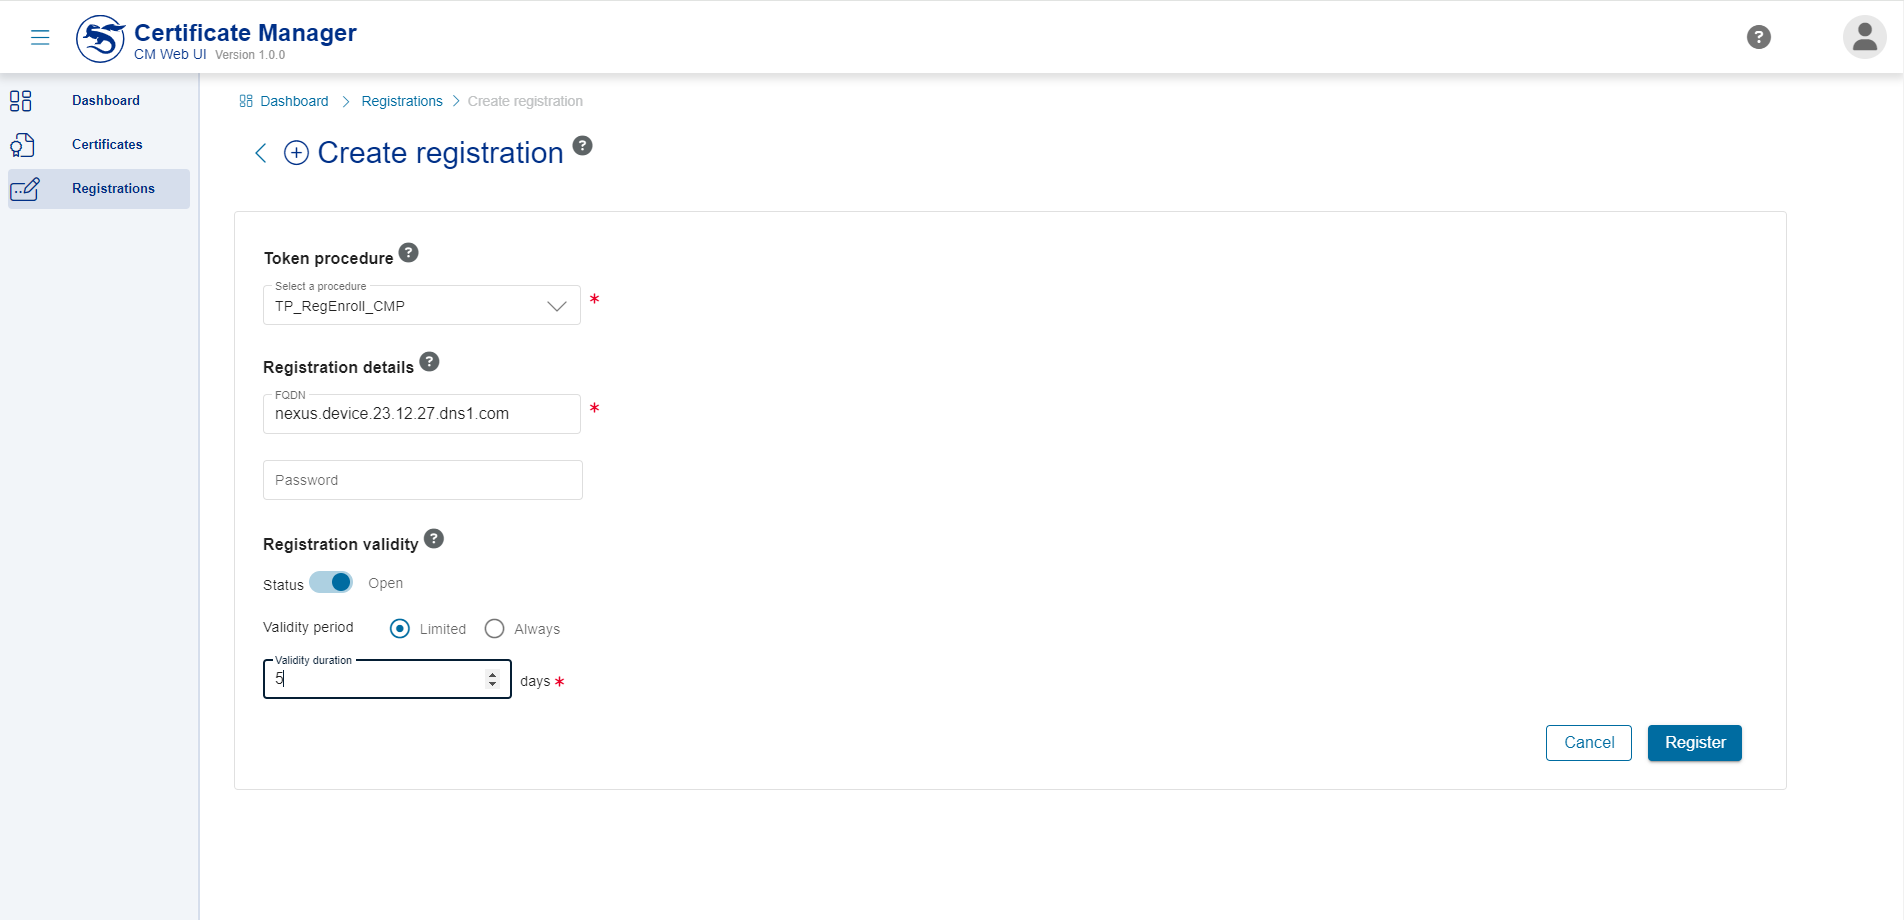
Create registration
Click the plus sign in the lower right corner to create a registration. From here, you can register device data to be validated in certificate enrollment requests over protocols CMP, SCEP, EST, or ACME.