Skip table of contents

Set up Smart ID authentication

This article includes updates for Digital Access 6.4.0.

This article describes how to set up Smart ID Mobile App or Smart ID Desktop App as authentication method in Smart ID Digital Access component.

For Smart ID Mobile App, you can set up two options for authentication: on the same device or on another device. To offer the end user both options, they must be set up as two separate methods. Using another device for authentication can be set up in two ways: 

  1. QR code: The user initiates the authentication from Smart ID Mobile App by scanning the QR code. With this method, the user does not have to enter a username on the authentication page.
  2. Username: The user initiates the authentication by entering its username on the authentication page.
Prerequisites

Before setting up Smart ID Mobile App or Smart ID Desktop App, you need the following: 

Step-by-step instruction

Set up Smart ID authentication 

Set external DNS

Set the external DNS name, to enable external communication to the DNS.

  1. In Digital Access Admin, go to Manage system > Distribution Services.
  2. Click Manage Global Distribution Service Settings.
  3. Enter the DNS name assigned in the previous step, and the port to use in Digital Access for external communication.

    Example: DNS settings

    External DNS name: ag5.nexusville.com
    External Port: 443

Enable Smart ID Mobile App or Smart ID Desktop App to an end user

Enable Smart ID Mobile App or Smart ID Desktop App to an end user
  1. In Digital Access Admin, go to Manage accounts and storage > User accounts.
  2. Enter the User ID and click Search.
  3. Click the User ID in the search results.
  4. Go to the PortWise Authentication tab.
  5. Scroll down and check Enable Personal for the user account.
  6. For Smart ID Mobile App, do the following additional steps:
    1. If you want to issue a new profile right away, check Create new profile.
    2. Select email notification, to send an email to the user with a QR code to activate Smart ID Mobile App: 
      Select Notification: By E-mail.
      Click Save.
    3. The user can now activate Smart ID Mobile App.
    4. To enable self-service, see Enable Smart ID Mobile App self-service in Digital Access.
  7. Click Publish.
Add Smart ID Mobile App or Smart ID Desktop App as an authentication method

To add Smart ID Mobile App or Smart ID Desktop App as an available authentication method:

  1. In Digital Access Admin, go to Manage System > Authentication Methods.
  2. Click Add Authentication Method...
  3. Select Personal Mobile or Personal Desktop (Smart ID Mobile App or Smart ID Desktop App). Click Next >.
  4. In General Settings, enter a Display Name. The display name is shown to end users when they log in.
  5. If you want Digital Access to validate a response using a CA certificate, check Enable Personal Certificate Authentication. Click the ?-sign for help.
    1. Select the Certificate Authority that issued the certificates used in Smart ID Mobile App or Smart ID Desktop App,.

      For Smart ID Desktop App, the selected certificate authority does not work as a filter, so certificates from all certificate authorities will be displayed to the end user in Smart ID Desktop App.

  6. Only for Smart ID Mobile App: if you want to enforce authentication on the same device, check Enable authentication on same device and do the following settings:

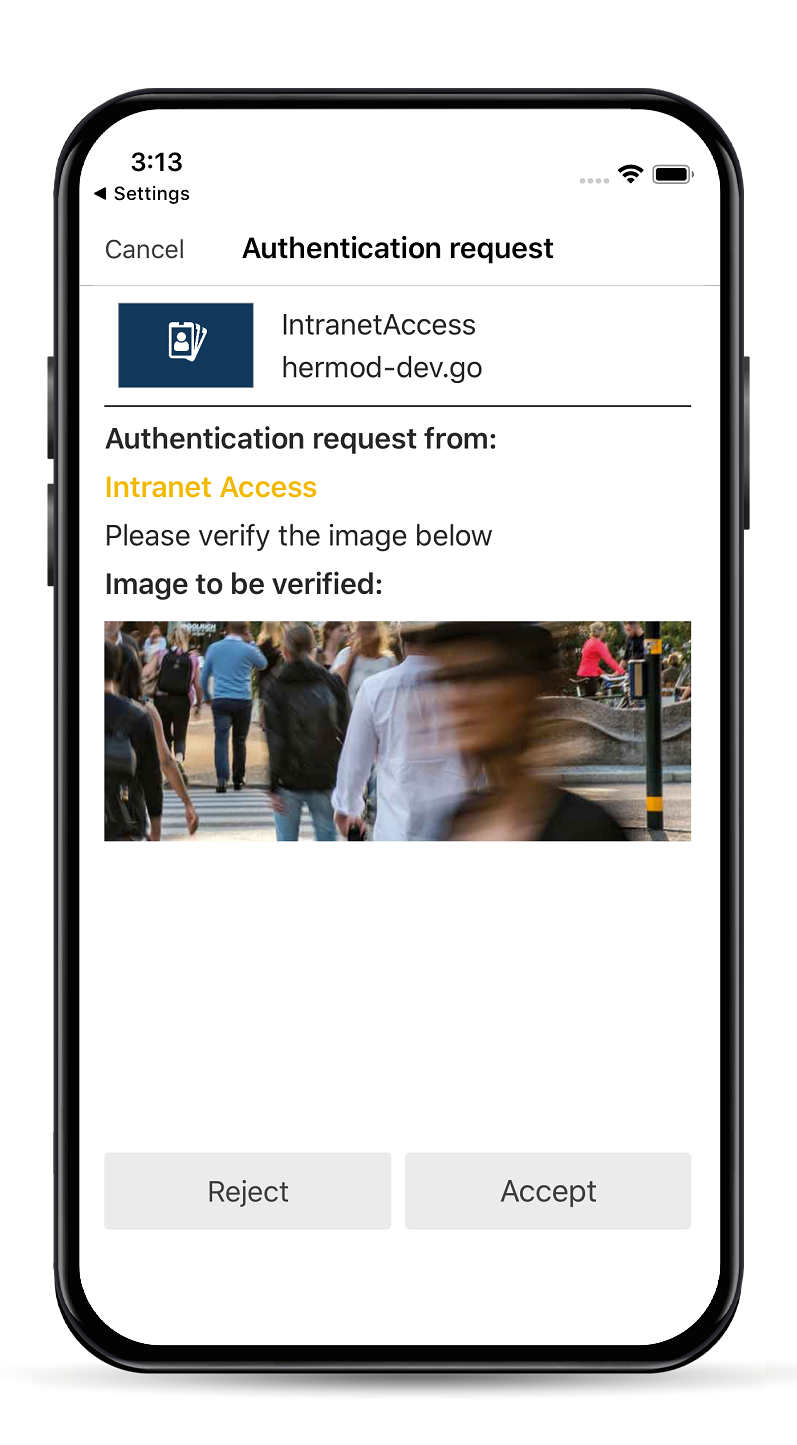
    1. In Wait for (seconds), enter a number of seconds for the image to be displayed before being redirected to Smart ID Mobile App.

    2. In Redirect Text, change the text if required.

    To offer the end users an option to authenticate on the same device or on another device, you must add two separate authentication methods, one where authentication on same device is enabled (enforced) and one where it is not.

  7. Click Add Authentication Method Server… Select an authentication server.
  8. Click Next >Next > and Next >.
  9. In Extended Properties add relevant properties for the authentication method.

    When using Enable Personal Certificate Authentication with Personal Desktop or Enable Personal Certificate Authentication together with Enable authentication on same device with  Smart ID Mobile App, it is mandatory to add both User Attribute and Certificate Attribute properties.

    Example

    User Attribute: mail
    Certificate Attribute: subjectaltname-emailaddress

  10. Click Next > and then Finish Wizard.
  11. Click Publish, that is marked blue, showing that updates have been done.

Related information


JavaScript errors detected

Please note, these errors can depend on your browser setup.

If this problem persists, please contact our support.